When I am sewing a cloth doll, I like to use a template to trace the arm or leg onto fabric, and then sew on the traced line. I think that using a template for arms and legs gives me more accurately shaped doll limbs. If the arm or leg pattern includes a seam allowance, I cut along the sew line to remove the seam allowance and make a template. Sometimes a doll pattern includes a seam allowance but does not have the sew line drawn on the pattern. A sew line can be added to a pattern using a Dream Seamer.
The Dream Seamer is a one half inch (12 mm) medal circle with a small hole in the middle. To use the Dream Seamer, first make sure that the seam allowance on your pattern is one fourth inch (6 mm). I like to use a mechanical pencil with the Dream Seamer, but I have used a red pen in the photo to make the illustration clearer. If you are right handed, hold the pencil in your right hand. Put the pencil point into the hole in the middle of the circle. Hold the pencil at a ninety degree angle to the paper. The Dream Seamer should be inside the pattern. One edge of the Dream Seamer circle should always touch the cut line of the pattern. Use your free hand to keep the Dream Seamer on the cut line. Draw all the way around the arm or leg pattern, one fourth inch (6 mm) on the inside of the pattern. Cut on the sew line to remove the seam allowance and create a template.

Sometimes you may want to alter a pattern to fit another size doll. You need a sew line to shrink or grow a pattern using a photocopier. To keep the seam allowance one quarter inch (6mm) on your new pattern, you should cut away the seam allowance, shrink or grow the pattern and then add the seam allowance back on. To add a seam allowance, the Dream Seamer should be outside the pattern. When adding a seam allowance, the Dream Seamer should touch the sew line as you trace around the outside of the pattern. You can order a Dream Seamer from Dollmaker’s Journey. Scroll down almost to the bottom of the supply page.
Pattern Making
Adapting a pattern
My current pattern project is a ball gown for young princesses. I am designing it to fit my three small dolls. It is made with a bodice that stops at the natural waist and a gathered skirt. With a shorter skirt and simpler decoration than the elaborate ornaments necessary for princesses, the pattern can make a classic little girl dress.
Here is Florabunda in her princess dress. 
I am almost finished with Tender Heart and Twinkle’s dresses. I will show them to you next week. I hope to have the pattern completed in a few weeks.
my patterns
Adapting a pattern, designing patterns, sewing for small dolls
Daisy Kingdom makes wonderful fabric. Simplicity Patterns offer Daisy Kingdom patterns. Most of the patterns are for girls’ clothing. Fifteen or so years ago their girls’ patterns included a matching doll dress. The doll clothes fit the daisy Kingdom doll, Daisy Dolly, which was offered for sale and ready to dress in fabric shops.
I’ve had an undressed Daisy Dolly in my closet for some time. While I was making Dutch Doll miniature quilts, I thought of an idea for finally dressing the doll.
Here is my interpretation of a dress and pinafore pattern by Susan York.

I used the large Dutch Doll on the front panel of the pinafore.

I used the small Dutch Doll Printouts on the pinafore pockets.
Coming next week: How to win a free pdf of the pattern of your choice.
doll quilts, Patterns from other designers
Adapting a pattern
I have a box full of 14 inch doll clothes that I made while I was writing my book. The church I am attending is having a yard sale and I decided to look through the clothes to see if I could find something to donate. I am glad that I still have a few 14 inch dolls that I made while I was developing my patterns, because it would be hard to find a commercial doll that can wear these clothes.

This is Brenda. I think that she looks nice in a dress and pinafore that I designed for Mary Lennox. The outfit didn’t make it onto my book because of space limitations.

The pattern for the coat she is wearing is in the book. When I made this coat I was experimenting with contrasting colors for the buttons, pockets and cuffs. Her bag was purchased, but it contains her nightgown, robe, and house slippers. I hope that Brenda finds a good home. Surely it will be better than the box that she has lived in for the past five years.
my patterns, Pattern Making
Adapting a pattern, designing patterns
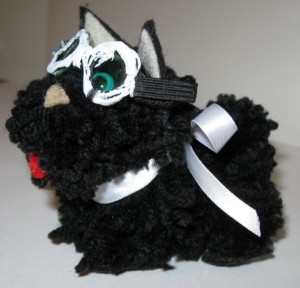 Jack wanted to see the section of my blog on terriers. He couldn’t find it, because I hadn’t written one. My blog on terriers is mostly going to be about Toto. Toto is a great character who adds a lot of fun to The Wonderful Wizard of Oz. He doesn’t appear in all of the Oz books, but he is in several. We find an interesting secret about him in one of the later books. I can’t remember the book’s name right now. I hope that someone reading the blog will know the book’s name and help me out.
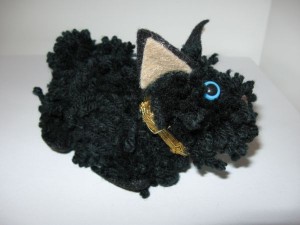
Here is Toto in the golden collar that the Winkies gave him.
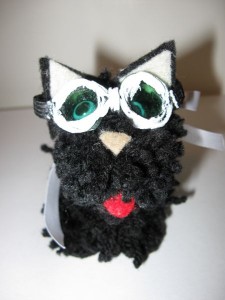
Here is Toto in the green glasses that he had to wear in the Emerald City.
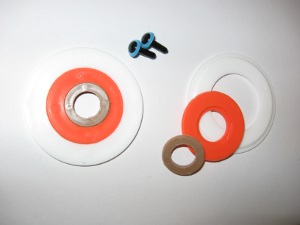
The Toto project in my book is one of my favorites. It is quick and easy to do. I used a set of interlocking rings to make the pompoms that construct the dogs. The rings are available in the knitting yarn sections of craft stores such as Michael’s and Jo Ann’s. There is another type of pompom maker that I have seen recently that is a little more expensive. These new gadgets make lovely pompoms, but they are too large for my Toto project. I ordered Toto’s eyes from CR Crafts. (There is a link on my home page.)
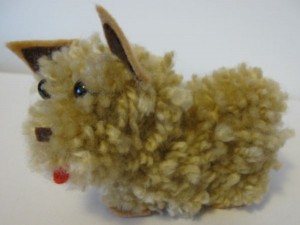
The instructions for Toto can be adapted to make other dogs. I used tan yarn to make Pollyanna’s Buffy. Someday I want to make a West Highlands White Terrier with white yarn fur and black eyes.
my patterns
Adapting a pattern
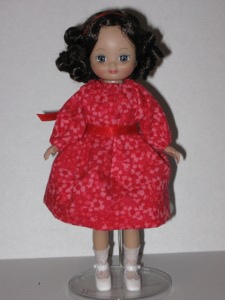
I made my 8 inch Tiny Betsy a dress using the gown pattern from A Small Wardrobe for a Small Doll. I added a ribbon at the waist. She is slim enough to wear a dress from this pattern while other 8 inch dolls like Ginny are not.
my patterns
Adapting a pattern, sewing for small dolls
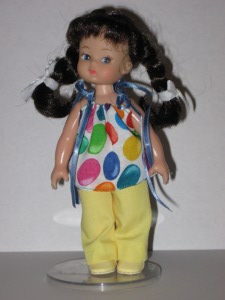
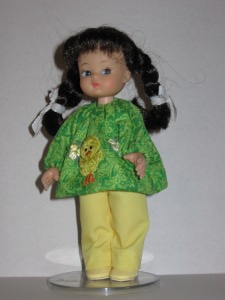

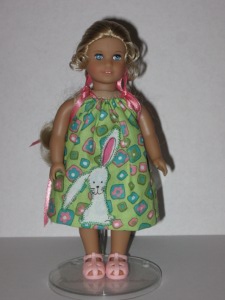
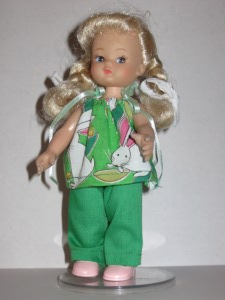
Here are some Easter outfits that I made with my free 6 1/2 inch doll clothing pattern. For my cloth doll’s dress I added eyelet lace to the neck and hem of the smock top. To make the pinafore I shortened the sun dress and made the front and back each an inch wider. For the mini American Girl’s sun dress I cut a rabbit’s picture from another piece of fabric and zigzagged it to the skirt. I purchased the two little dolls with braids from Target several years ago.
my patterns
Adapting a pattern, sewing for small dolls
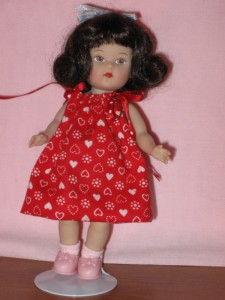
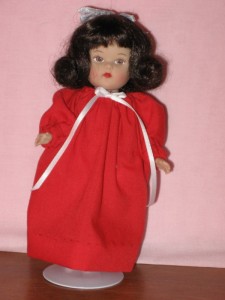
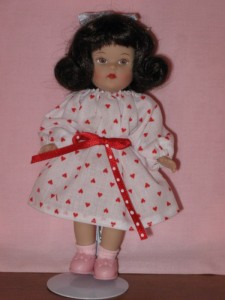
Here is my new Mini Ginny ready for Valentine’s Day. Because she is only 5.5 inches tall, I adapted the free patterns available on my home page slightly. For the gown I folded the pattern on the hem line and sleeve casing line before cutting the pieces. To make the dress with sash I cut the gown pattern after I folded it on the “cut here for top” line. I folded the sun dress on the hem line before cutting the dress. I used a quarter inch seam allowance on all three pieces. The pants pattern will not fit Mini Ginny without more alteration.
Pattern Making
Adapting a pattern


 Jack wanted to see the section of my blog on terriers. He couldn’t find it, because I hadn’t written one. My blog on terriers is mostly going to be about Toto. Toto is a great character who adds a lot of fun to The Wonderful Wizard of Oz. He doesn’t appear in all of the Oz books, but he is in several. We find an interesting secret about him in one of the later books. I can’t remember the book’s name right now. I hope that someone reading the blog will know the book’s name and help me out.


