Sewing Doll Arms, Legs, and Ears Using Templates
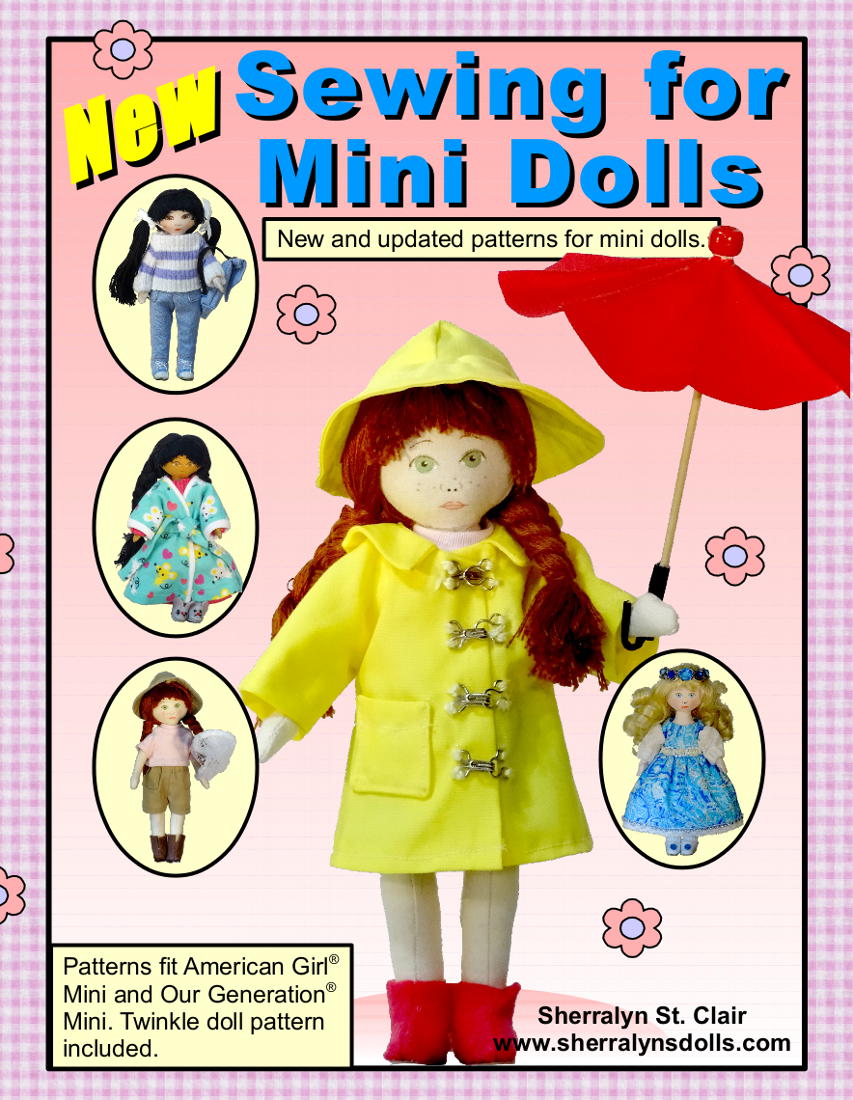
I am making two cloth dolls, eighteen inch ( 46 cm) Kitty and six and one half inch (16.5 cm) Twinkle. I am using the patterns found in my two new books, Sewing for Large Dolls and Sewing for Mini Dolls. If you are interested in finding out more about these books you can read about them on My Books page by clicking here.
Recently I decided that the freezer paper method is my favorite way to sew using a template. I explain this method in Sewing for Large Dolls. The large doll book suggests sewing the arms, legs, and ears as the step after coloring the face. The arms and legs will be used later in the construction, but the ears are needed when the head is sewn together. I decided to sew Twinkle’s arms and legs while I was sewing Kitty’s arms, legs, and ears. I used two folded pieces of fabric for all my templates. Here is how they looked after I sewed them.
My Bernina sewing machine has a knee lift for its presser foot. I find this feature very helpful when I am following templates, because the process often requires raising the foot to pivot the fabric on the needle. My new Brother machine has placed the hand lift for the presser foot conveniently at the side rather than the back of the machine head. I was pleased to find how easy it was to follow the template lines without a knee lift.
I cut out only the ears before I began work on the dolls’ heads. The arms and legs were cut out later, when I was ready to use them. I find it easier to cut out each piece if I leave the template on the fabric until the piece has been cut out.
Next time we will look at constructing doll heads and attaching the heads to the bodies.

